
How to create pages in WordPress
A couple of weeks ago, I talked about the basics of creating WordPress Posts. Today I’m going to visit a function that’s often confused with creating posts: How to create Pages in WordPress.
So what is the difference?
Well, Posts are for highly dynamic, up-to-date content. For example, tips, videos, interviews, updates, and news.
Conversely, pages work best for static content (not to be confused with the dynamic nature of WordPress) that doesn’t change as often . Create a page (as opposed to a post) for content that is more constant and needs to be readily available such as contact, biographical, or service information (for example). Another big difference between pages and posts is how the are organized. While posts are organized by date, category, and tags, pages are organized hierarchically (parent pages, child subpages, etc) and displayed through site navigation (more on menus later).
Creating Pages
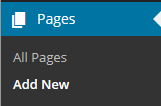
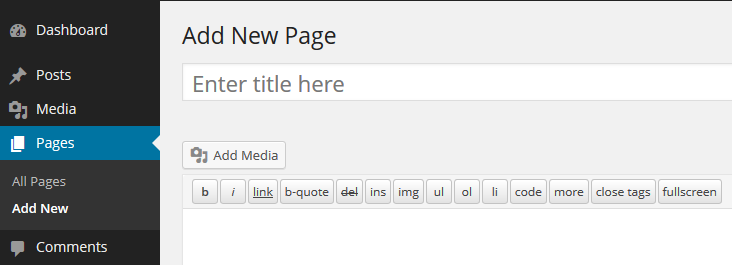
From your WordPress Dashboard, click (Pages -> Add New).
Next, type a title in the title area (The field that says “Enter title here”) and content into the post content area via the Visual or the Text editors. Be very specific about your title and content, using words that your target audience would use to search for the information that you are writing about. The title will be used as your page URL, so include keywords. Also be mindful about “keyword stuffing” as well. Your number one goal is to create rich content that is full of value.
When you have completed entering your text, you can choose your publishing options from the “Publish Box” on the top right hand side of your screen. See below:
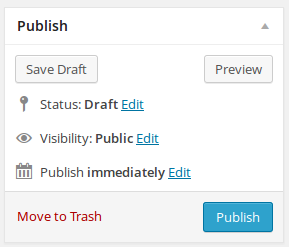
If your page is ready to be published – great! If you want to work on it a bit more (for example, add pictures, have your text edited, etc) there are many different options for you in the “Publish Box”. Your options are:
- Status: change the status of the post to published, draft, pending review, or scheduled.
- Visibility: Public (anyone can view the page), Password Protected (users will need a password to view the page), or Private (only visible to you and any other admin users on your WordPress site).
- Publish immediately: choose to publish the page right now or schedule it to be published at a later date!
- Move to Trash
- Update/Publish: This is the button that makes your page live. It will say publish if this is a new page or update if you are making changes to an existing page.
Next week I am going to talk more about jazzing up your site by adding media to your post and pages!
Some more helpful tips on how to create pages in WordPress:
- From the WordPress Codex: All about WordPress Pages
- WP Beginner: What is the Difference Between Posts vs. Pages in WordPress
So what do you think? Feel ready to create your first page in WordPress? Is there anything that is still keeping you guessing about how to create pages in WordPress? I’d love to hear from you in the comments below.