
Ever want to leverage the power of social media to grow your email list?
Me too!
I use MailChimp, so I thought I’d show you how in this episode of my Weekly WordPress Wink!
How to add an email opt-in form for Facebook
1. Log in
Log in to both your Facebook and MailChimp accounts in different browser tabs (or windows, if that’s your thang):
https://www.facebook.com/ <- make sure that the profile you log in to has administrative access to the page you want to add the form to.
https://login.mailchimp.com/ <- Stay in this tab.
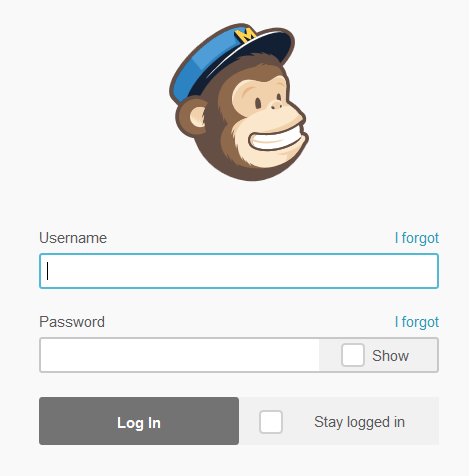
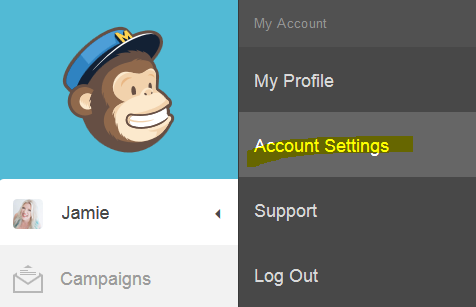
2. In MailChimp, select “Account Settings”
Once you have logged in to MailChimp, click on your account name to slide open an account-specific menu, then click “Account Settings”:
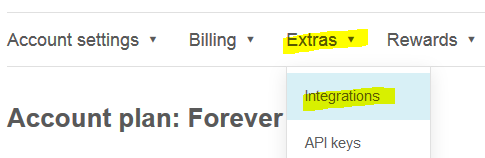
3. Select “Integrations”
From the accounts horizontal menu, select “Extras” and then “Integrations”:
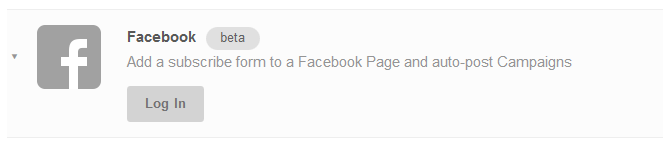
4. Select and log in to Facebook with MailChimp
On this integrations page you’ll see a list of services that you can connect directly to from MailChimp. If you have already connected your Facebook account to your MailChimp account, the Facebook icon will be in colour. If not, the Facebook icon will be gray. To connect to your Facebook account, click “Log In” (if you are already logged in to Facebook – you did that in step one, right – this will be less painful 😉
 If you are using Facebook as your business page, you’ll need to switch now to that personal account that has admin access to your page:
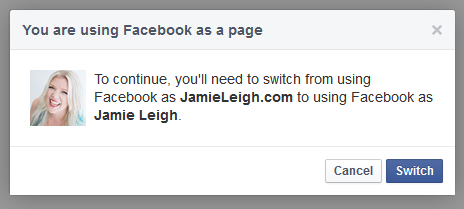
Click “Okay” three times to give MailChimp permission to access your Facebook account.
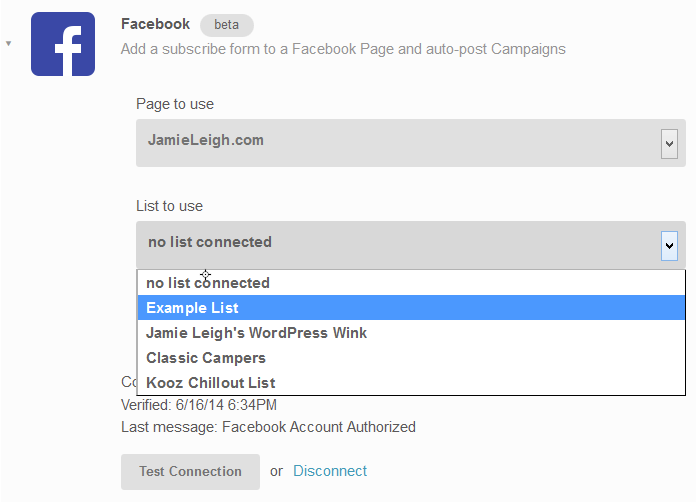
5. Choose your list
If you have more than one list, make sure you select the list that you want folks to opt-in to from your Facebook page.
6. Choose a theme
You can either choose the theme that you designed for this list (the correct answer) or choose a Facebook-esque theme. My opinion? Choose your theme because you want to reinforce YOUR branding on your Facebook page, not Mark Zuckerberg’s. He doesn’t need any more help 😉
7. Label your App Tab
This might seem trivial but since the new Facebook layout for Pages, what you name your app tab is even more prominent! Make this an appealing on-brand call-to-action.
8. Create a custom app icon
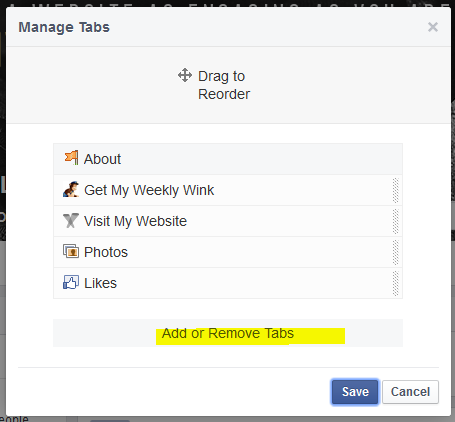
Switch back to your Facebook tab and select “More” -> “Manage Tabs”
![]()
Then click “Add/remove tabs”
 Now click “Edit Settings” underneath the “MailChimp” app:
![]()
Next to “Custom Tab Image” click “Change”:
![]() In the next page, hover over the default image and click “Edit” to change the image. You can upload a 111 x 74 pixel JPG, GIF, or PNG file that is less than 1Mb in size. Click “Choose File” and browse through your computer until you find your file and then click “Open”
In the next page, hover over the default image and click “Edit” to change the image. You can upload a 111 x 74 pixel JPG, GIF, or PNG file that is less than 1Mb in size. Click “Choose File” and browse through your computer until you find your file and then click “Open”
Congratulations! You’ve now got your own custom branded MailChimp opt-in form on your Facebook page!