Customizing MailChimp Forms
Special thanks to Christine for this blog post inspiration. She read my tutorial on how to add a MailChimp opt-in form to Facebook, created her own MailChimp opt-in app link, and had the following question: “Do you know how to add an image on the Facebook app page once someone clicks on it? I’ve seen it on other pages but mine just shows a plain sign-up form. Thanks!”
Christine has noticed that you can reinforce your brand while building your list by customizing your MailChimp forms. That way, if you are embedding an opt-in form to a third party site such as Facebook, your brand’s look and feel is not overwhelmed by the other site’s branding!
How to add an image to MailChimp forms in 7 easy steps
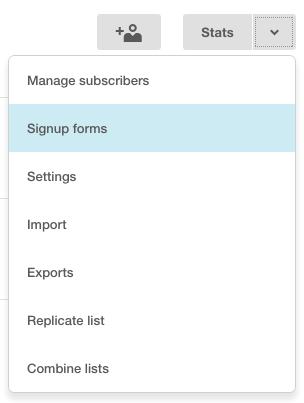
1. Choose your list in MailChimp and select “Signup Forms”
2. Next, select “General Forms”
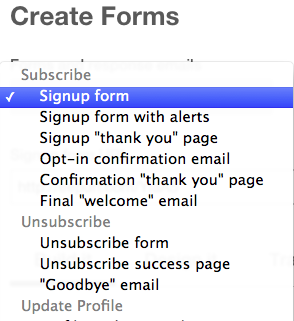
 3. From the drop-down box, select “Signup Form”

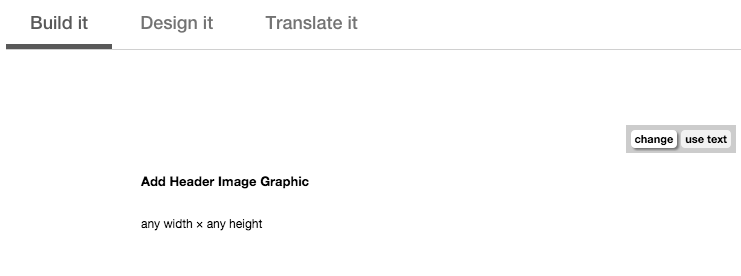
4. Hover over the header area of the form and select “Change”
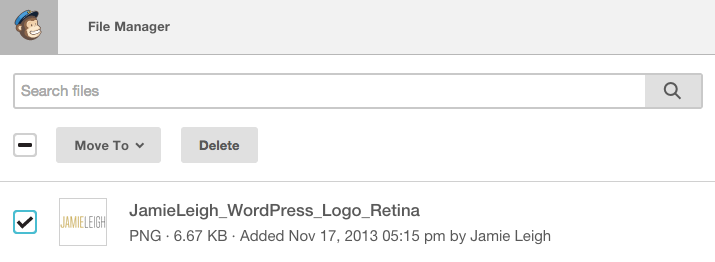
5. Either drag and drop the image that you want to use, or search for it in your MailChimp File Manager.
6. Click Select
7. Make stylistic changes, then click “Save & Insert Image”
That’s it! Now you’ve added your own branded image to the header of your opt-in form!


